Make your Halloween Party Invitations stand out in a way that actually get your guests very excited.
Let’s be brutally honest: most Halloween party invitations are boring. They look cute, sure. A pumpkin clip art here, a “spooky night” tagline there. But do they actually make your friends squeal with excitement and immediately block off their calendars? Nope. Most Halloween party invites get skimmed, shrugged at, and left to rot in inboxes like an abandoned haunted house.
And that’s a crime. Because your invitation? It’s not just a piece of paper (or a Canva design). It’s the opening scene of your Halloween party. The teaser trailer. The “coming soon” that makes people want to grab their costume and start counting down.
Your invite is the first taste of the vibe—like a styled backdrop that practically begs for photos. I broke down how to do that with décor in this Halloween photo backdrop guide
Here’s the problem: too many hosts treat invitations as an afterthought. Slap on a ghost emoji, toss in a date, and call it done. But if your invite doesn’t grab attention, your party already feels flat before it even starts.
That’s why we’re flipping the script. This not another copy-paste list of “20 invitation ideas you’ve seen a million times.” Nope. I’m showing you exactly how to design, word, and time your Halloween party invitations so they actually get guests excited to show up (and RSVP, because nothing’s scarier than a ghosted guest list).
By the end of this guide, you’ll know how to balance practical details (like when to send invites and what to include) with creative twists that spark major FOMO. Translation: your invites will no longer be an afterthought. They’ll be the hype.
Ready to turn “meh, maybe I’ll go” into “I cannot miss this party”? Let’s get into it.
Practical Foundations Before Designing
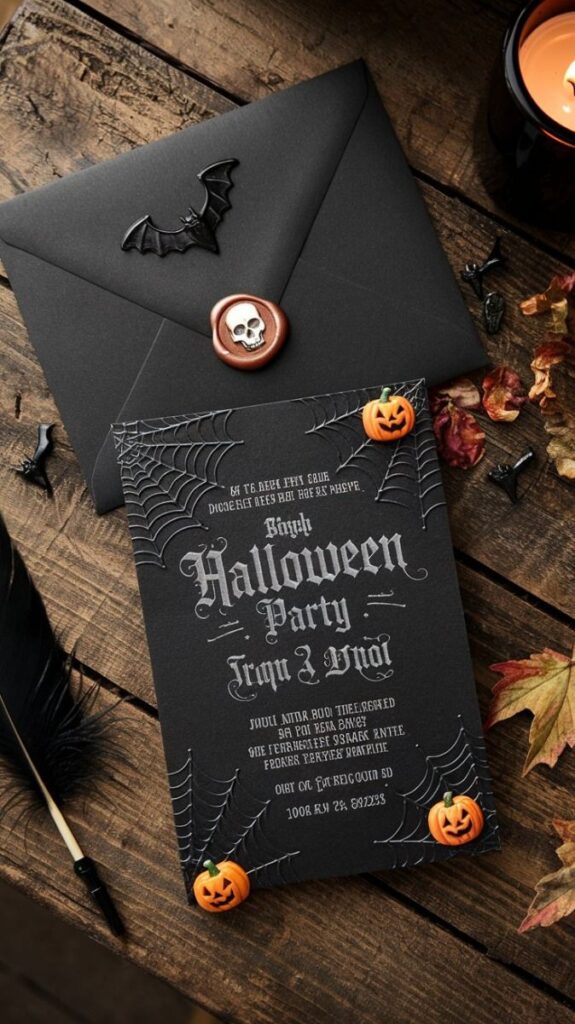
Photo credit: @ TRIPS| STYLE| VIBE| TRENDS| MOODBOARD| AESTHETICS| VISUAL
Before you get carried away with fonts and glitter bats, let’s talk basics. Because even the most gorgeous Halloween party invitation falls flat if it misses the essentials. Think of this as your skeleton framework (pun fully intended).
Timing — When to Send Out Halloween Invitations
Timing can make or break your turnout. Too early and people forget. Too late and their October calendar is already haunted with other plans.
Printed invitations? Aim for 3–4 weeks before the party. This especially matters for events like Halloween-themed birthday party invitations or formal witches night out invitations, where guests may need time to shop for costumes or arrange childcare.
Digital invitations? Two weeks out is perfect — inboxes move fast, and you want your invite near the top when they’re planning.
Extra pro tip: if it’s a Halloween costume party invitation, give a little more lead time. Nobody wants to scramble for a zombie cheerleader outfit on October 30. If you’re planning a kids’ costume party, you’ll love these Halloween costume ideas for kids—fun, creative, and not too spooky!
What Details You Must Include
This is where so many hosts trip up. They assume people will “get the vibe” or “figure it out.” Nope. Guests appreciate clarity. So here’s your checklist:
- Date and time (obviously, but double-check for typos).
- Location + parking instructions. No one wants to circle a block for 30 minutes in a vampire cape.
- Dress code. Is it a full costume party? Casual spooky chic? Black tie masquerade? Spell it out.
- RSVP deadline. And yes, actually enforce it. (Your guest list is not a choose-your-own-adventure book.)
- Contact info. A quick way for guests to reach you if they get lost, confused, or want to double-check the dress code.
This applies whether you’re sending out a kids Halloween party invitation for a backyard pumpkin patch, or a more grown-up Boo Bash invitation for a late-night crowd.
Choosing Between Digital vs. Printed Invitations
Let’s settle this: there’s no “right” choice. Just the right choice for your party.
Digital invites (Evite, Paperless Post, Canva, even WhatsApp graphics) are fast, affordable, and easy to track RSVPs. Perfect for casual gatherings, Halloween movie night invites, or a last-minute Halloween sleepover.
Printed invites feel luxe, intentional, and keep-worthy. They set a different tone — like, “this party matters.” They also make a killer first impression for spooky birthday party invitations or an elegant witch Halloween party invitation.
Bottom line? Match the format to the vibe you’re creating. A chic masquerade ball deserves a physical invite. A playful neighborhood pumpkin-carving contest? Digital works just fine.
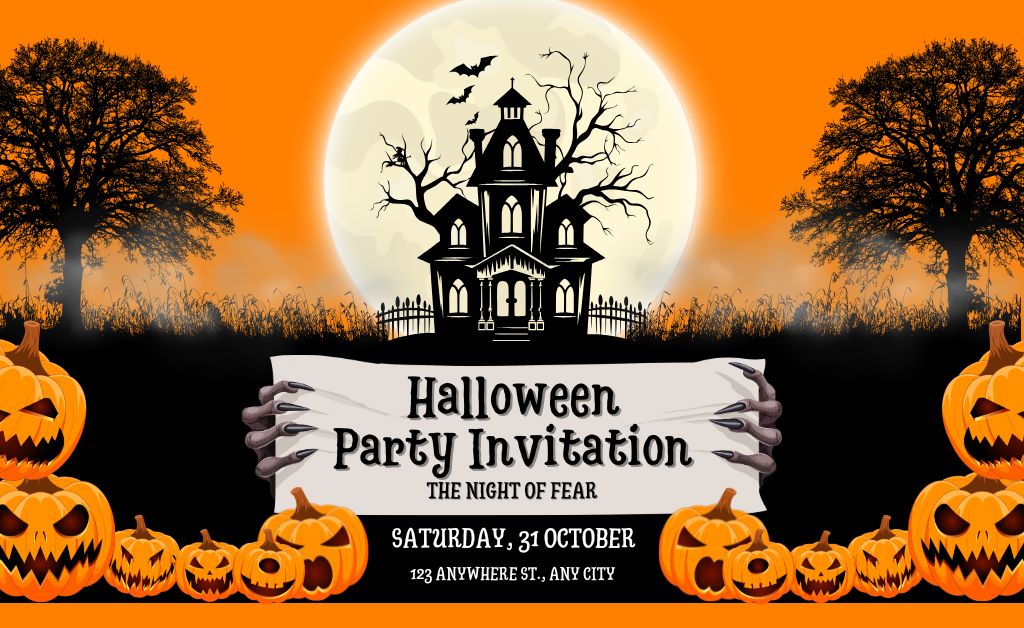
Step 1: Nail the Basics Before You Go Wild
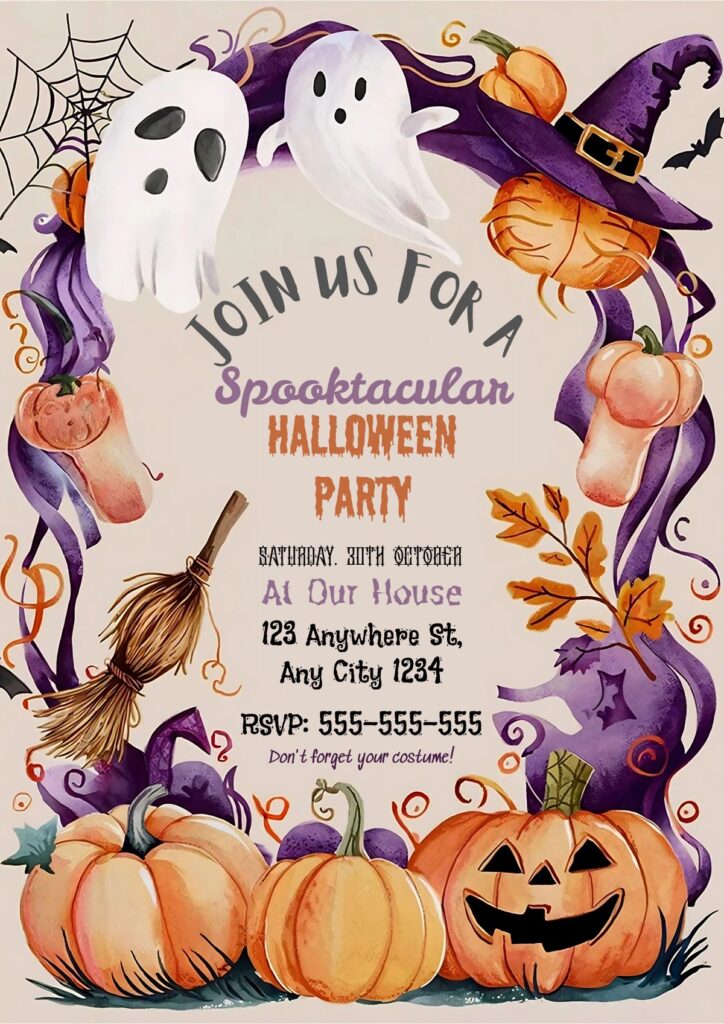
Photo credit: @ CreativeRino
Listen, I know you’re itching to slap on some bats, pumpkins, and a random haunted house clipart you found on Google. But hold up. A great Halloween party invitation isn’t just cute — it’s clear. Guests should know the who, what, when, and where without needing a magnifying glass.
Think about it: if your invite buries the actual party details under ten dancing skeleton emojis, half your friends are going to text you anyway. (“Wait, is this on Friday… or is it the 13th?!”). You don’t want that.
So before you start sprinkling glitter fonts everywhere, lock down the essentials:
- Date & Time → no one likes a spooky surprise when they show up a week early.
- Location → address, plus a clue if it’s hard to find (“third house with the glowing cauldron on the porch”).
- Theme/Dress Code → because showing up in full zombie makeup when everyone else is “witch chic” is brutal.
Once you’ve nailed those, then you can go wild with the cobweb graphics. Whether you’re writing Halloween party announcement wording or creating a DIY Halloween invitation, clarity is your best friend.
Step 2: Pick a Theme That Actually Works (and Doesn’t Confuse People)
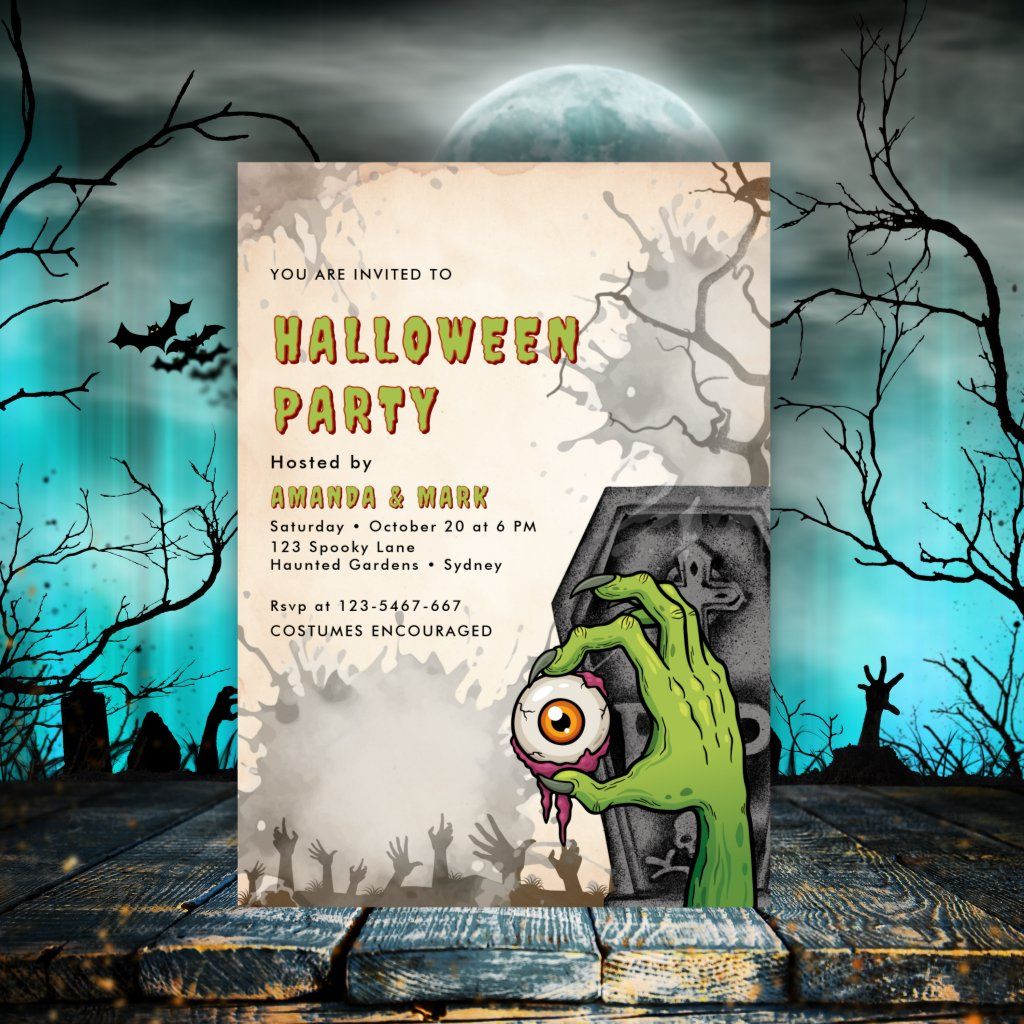
Photo Credit: @ Zazzle
Here’s the thing about Halloween themes: they’re either brilliant… or a total mess. You don’t want to invite people to a “spooky soirée” and then leave them guessing if that means full-on horror, a chic masquerade, or just your living room with orange balloons.
Your invitation should set the vibe clearly so guests know what they’re signing up for.
A few easy wins:
- Classic Creepy → bats, cobwebs, and haunted houses. Straightforward, safe, and everyone gets it.
- Elegant Gothic → black lace, candlelight, maybe even wax seals. Perfect if you’re going for “Morticia Addams, but make it luxe.”
- Campy Fun → bright pumpkins, silly ghosts, candy everywhere. Think more Hocus Pocus party than The Conjuring.
- Costume-Specific → “Villains Only” or “Haunted Hollywood.” Guests love boundaries because it kills the awkward “what do I even wear” panic.
The golden rule? Don’t mix vibes unless you want guests showing up like it’s the Met Gala and you’re serving chips in paper bowls.
Step 3: Design Details That Make People Say “Whoa”
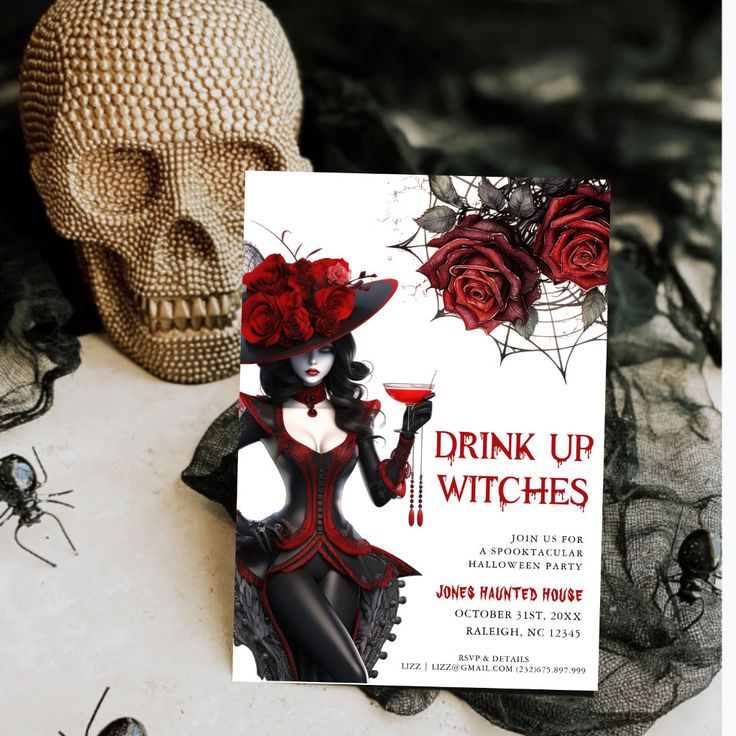
Photo credit: @ Zazzle
Okay, so you’ve nailed your theme. Now it’s time to make the actual invitation look like it belongs to your party and not a clearance-bin greeting card.
Colors matter.
Halloween doesn’t have to scream black-and-orange every single time. Deep purples, moody emerald, and even metallic gold or silver can give your invite major upgrade energy. Want a chic twist? Try all-black with just one pop of blood-red. Dramatic. Iconic. Done. And if you’re really leaning into the vibe, pair it with some moody monochrome Halloween decor or even Halloween food served in a moody color palette to keep the theme consistent from invitation to after-party
Fonts do the heavy lifting.
Skip the Comic Sans graveyard, please. If you’re going scary, go for eerie script fonts or jagged styles. Hosting something more playful? Chunky, bubbly lettering keeps it lighthearted. Minimalist? Clean sans-serif with just a tiny spooky accent works magic.
Little touches = big wow.
Wax seals with tiny skull stamps. Glittery spider stickers on envelopes. Or if you’re digital, add subtle animation—like a flickering candle or a bat that swoops in when they open the invite. Guests will literally re-watch just because it’s that fun.
This works across vibes—whether you’re designing ghouls night invites with glam details or pulling together Halloween parejas (couples’ party) cards that look polished.
Bottom line: don’t just tell people you’re throwing the best Halloween bash. Let your invite prove it the second they see it.
Step 4: Wording That Sparks Excitement (and RSVPs)
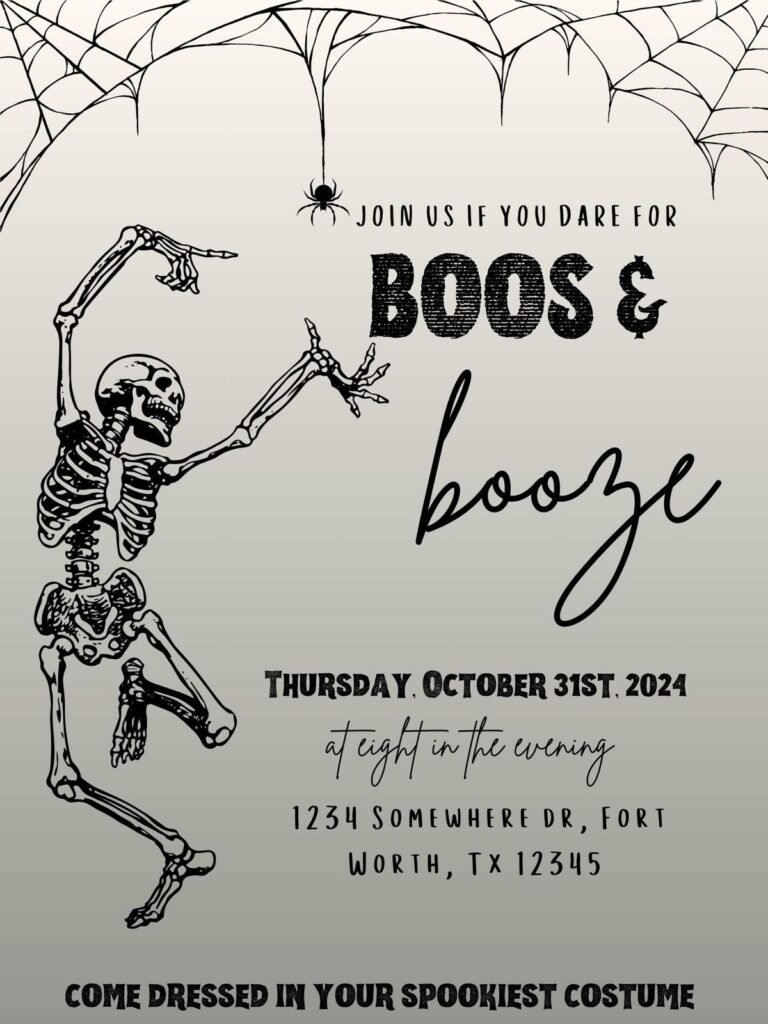
Photo credit: @ Behance
Your design may catch the eye, but your words? They seal the deal. Think of wording as the voice of your party—it tells guests whether they should expect creepy cocktails in a candlelit dungeon… or a kid-friendly pumpkin patch with apple cider and cupcakes.
Tone sets the mood.
- Want your bash to feel classy and mysterious? Keep the wording elegant with phrases like “An evening of enchantment awaits…”
- Going full-on spooky? Try cheeky lines like “Join us if you dare…” or “Caution: enter at your own risk.”
- Hosting little ones? Keep it playful: “Pumpkin pals unite!” or “Bring your boos and ghouls.”
The magic of a strong call-to-action.
Don’t just toss in a boring “Please RSVP by October 15.” Where’s the fun in that? Punch it up:
- “Don’t ghost us—RSVP by October 15!”
- “Witches need headcount for the brew—reply by the 10th.”
Guests are way more likely to actually respond when the wording feels like part of the party. Whether it’s Halloween costume party invitation wording or party invitation wording for a themed birthday, or Halloween baby shower, your words matter.
Remember, your invite isn’t just delivering info—it’s whispering (or shrieking) a promise of what’s to come.
Step 5: Creative Halloween Invitation Ideas That Don’t Feel Overdone
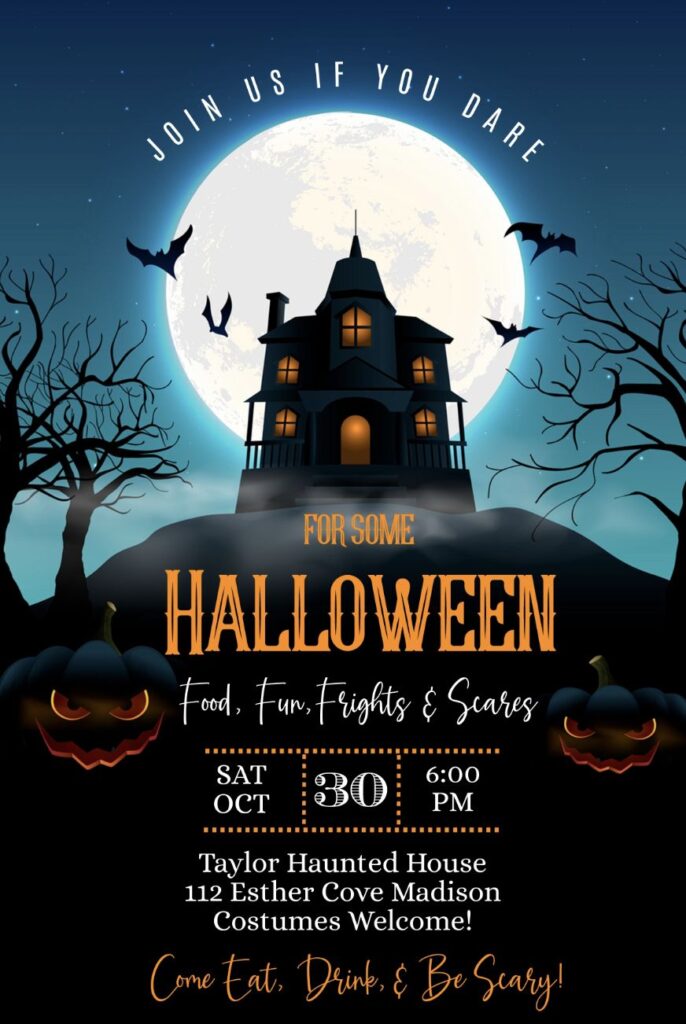
Photo credit: @ Amy Taylor
This is where we take the basics (theme, design, wording) and sprinkle in that Pinterest-worthy magic. But—let’s keep it fresh, not like a recycled list you’ve seen 200 times already.
Theme-based invitations that actually feel intentional.
Witchy Chic
→ Black-and-white with a touch of metallic silver—like a coven that shops at Anthropologie. This works brilliantly for witches party invitations or a glam witch Halloween party invitation, where guests already know they’re stepping into something a little luxe, a little mysterious.
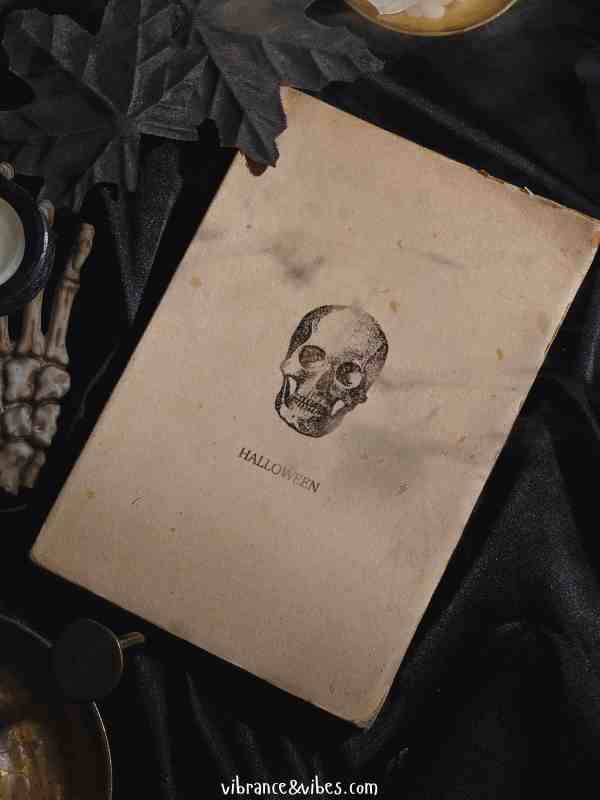
Haunted Mansion
→ Gothic fonts, dusty rose accents, and maybe a wax-dripped RSVP card. Educational tip: pairing a muted color palette with vintage textures instantly signals “moody” without saying a word. Guests will anticipate a candlelit, atmospheric soirée.
Pumpkin Patch for Kids
→ Bright oranges, playful fonts, and happy jack-o’-lanterns. This is gold for family Halloween party invitations or kids Halloween party invitations because it instantly reads wholesome and approachable while still being festive.
If you want the pumpkin vibe without the Pinterest-fail chaos, check out what not to do at your pumpkin decorating party if you really want it chic.
Hocus Pocus Magic
→ Nostalgia is powerful. Channel Salem with invites that nod to the Sanderson sisters. A Hocus Pocus party invitation taps into built-in excitement (thanks, Disney cult classic) and works especially well for themed watch parties or adult sleepovers.
Costume Contest Showdown
→ Don’t just tell guests to dress up—make it part of the invite. Bold fonts, playful wording like “may the best ghoul win,” and maybe a line about prizes. That little detail transforms a basic invite into an exciting Halloween costume party invitation.
Boo Bash Energy
→ Bright, bubbly, and fun. Imagine neon ghosts, confetti, and cheeky lines like “Get ready for a Boo Bash you can’t miss.” These Boo Bash invitations feel lighthearted and are perfect for pre-trick-or-treat gatherings.
Halloween Movie Night
→ Projector-style fonts, popcorn bucket icons, and a muted black-and-orange palette. These Halloween movie night party invites educate your guests right away on the format: cozy, spooky, and snack-filled. Bonus tip: add a QR code linking to the film lineup—it’s fun and functional.
Sleepover Scarefest
→ Think glow-in-the-dark graphics, neon accents, and cheeky “BYO flashlight” wording. A Halloween sleepover invite works great for teens or nostalgic adults who want candy, PJs, and ghost stories. The vibe is intimate but still festive.
Elegant Masquerade
→ Deep jewel tones, lace textures, and sleek mask motifs. Invitations like this educate through design: they quietly tell guests “this is a dress-up event” without spelling it out. They’re perfect for luxe, adults-only Halloween gatherings.
Monster Mash
→ Bright colors, playful illustrations of classic monsters (Dracula, Frankenstein, silly skeletons). This is ideal for a Halloween themed birthday party or even a ghouls night invite, since it makes the vibe crystal clear—fun, quirky, and all about dancing the night away.
Interactive invites (aka, the “wow” factor).
- Slip in a QR code that links to your Halloween playlist—imagine guests vibing to spooky beats before the party even starts.
- Add a hidden riddle or puzzle: solve it, and they reveal the party details.
- Scratch-off invites (yes, you can DIY them)—guests literally scratch to find the theme or dress code.
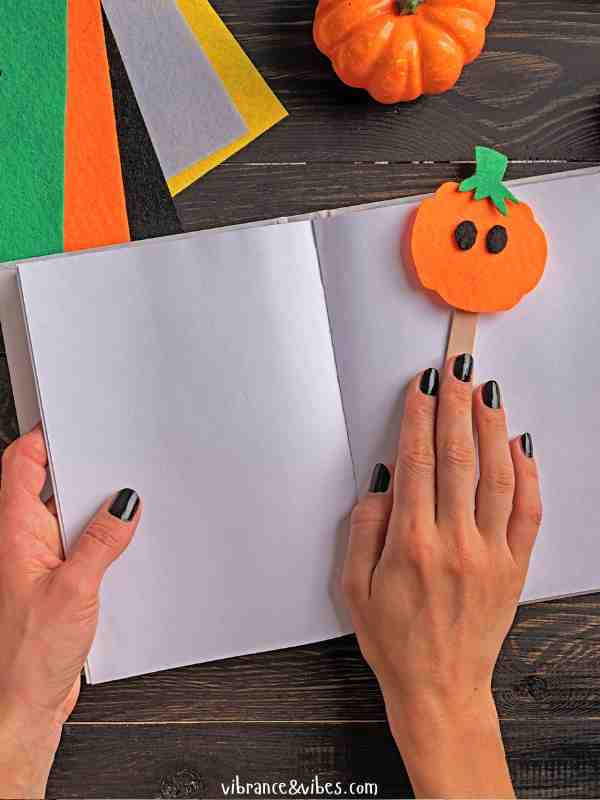
Budget-friendly DIY that doesn’t look cheap.
- Canva templates with custom fonts and colors—nobody needs to know it cost you zero dollars.
- Hand-lettering a few details for that “crafted with love” vibe.
- Printable accents like cut-out bats or cobweb overlays that turn a plain card into a keepsake.
Think of this section as your “Pinterest inspiration board”—but without making your guests roll their eyes because they’ve seen the exact same ghost clipart somewhere else. Perfect for anyone searching for Halloween party invitation ideas, Halloween invite ideas, or DIY Halloween invitations that stand out.
Step 6: Common Halloween Invitation Mistakes to Avoid
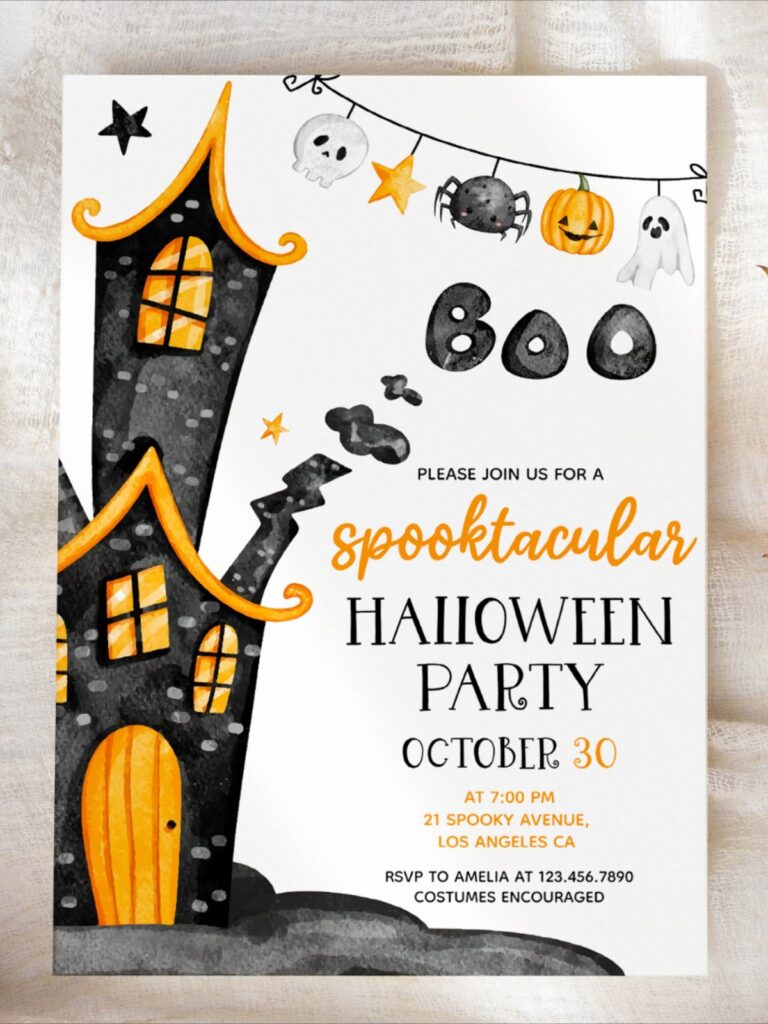
Photo credit: @ Etsy
Let’s be real: nothing kills the party buzz faster than a bad invite. And yes, people will judge your bash before stepping through the door—just from that little piece of cardstock (or the Canva link you texted them). So let’s talk pitfalls:
- Forgetting the RSVP details. If you don’t tell people how or when to RSVP, don’t be surprised when half your guest list ghosts you. (Pun fully intended.)
- Clutter overload. You don’t need five fonts, thirteen clipart ghosts, and a blood-splattered border. Keep it chic. Keep it legible. If your invite looks like a Spirit Halloween clearance rack, you’ve gone too far.
- Sending it way too late. October fills up fast. If you send invites on the 28th, people already have costumes planned, babysitters booked, and backup plans made. Give them 2–4 weeks’ notice—minimum.
- Fonts you can’t read. Sure, that drippy vampire font looks cool… until no one can figure out if the party starts at 7 or 9. Priorities: spooky, yes. Illegible? No.
Bottom line: your invite should excite, not confuse. If in doubt, strip it back and let your design and wording shine.
Step 7: Final Touches That Boost Excitement
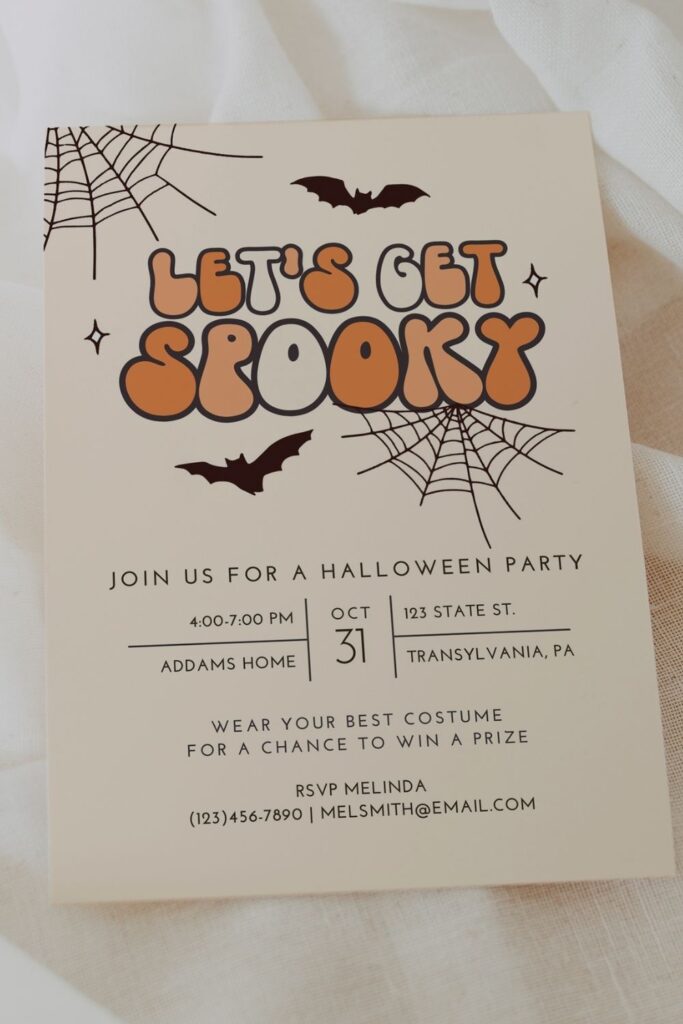
Photo credit: @ Etsy
This is where you take your Halloween invitations from “cute” to can’t-stop-talking-about-it. It’s all in the finishing touches.
- Match your invitations to your party decor. If your invite promises a moody haunted mansion, your guests better not walk into a room full of neon balloons. Keep it cohesive—colors, vibe, and even wording should echo what’s waiting at the party. It’s basically brand consistency… but spooky.
- Follow up without being annoying. A little RSVP nudge doesn’t have to feel desperate. Send a fun reminder graphic or a cheeky GIF—something like, “The witching hour is near… have you RSVP’d?” It keeps the vibe playful and keeps guests accountable.
- Build pre-party FOMO. Slip in a teaser with your invite—maybe a hint about the cocktails, or a costume contest surprise. Guests should feel like saying yes means they’re in on something special, and saying no means they’re missing out. Big. Time.
Think of it this way: your invitation isn’t just paper or pixels. It’s the first scene of the movie that is your party. Set it up right, and people will run to RSVP.
Your Invite Is the Spark
Here’s the truth: Halloween invitations aren’t just admin work. They’re the first taste of your party—the spark that sets the vibe before anyone walks through your door.
When you get the timing right, nail the wording, and sprinkle in those design details, you’re not just sending an invite. You’re building anticipation. You’re giving your guests something to look forward to. And you’re basically the director of their spooky season highlight reel.
So skip the cookie-cutter stuff. Make it personal. Make it cheeky and unforgettable. Because the best parties? They start long before the first guest arrives—they start the moment your invitation lands in someone’s hand (or inbox).
Whether it’s a spooky Halloween bash, a sweet baby shower, a milestone birthday, or even a wedding, the rules don’t really change. Your invitation is the first impression—and the fastest way to set the mood. Swap cobwebs for florals, or skeletons for sparkles, but keep the same formula: clear details, eye-catching design, and wording that makes people want to RSVP. Because no matter the occasion, your party starts the second that invite lands.
Now go on. Craft an invite that gets people genuinely hyped. Your Halloween party deserves it.